
Screenshots are real time snaps of a display. It is a very handy feature to capture the screen contents. Screenshots can be very useful if you have to tell some expert about an issue in your PC or when you want to save some info as an image for better editing.
As of today, almost all OS (be it Android, ios or Windows) support this feature(Android lacked this in its early iterations but now its built in the OS).
Ability to take screenshots has been an integral part of Windows OS(Through Snipping Tool). The feature has become more functional in Windows 10.
There are several ways to take screenshots in PC. Some are very fast while some are time consuming (albeit more functional).
You can try any of the below mentioned methods to take screenshots.
METHOD 1
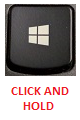
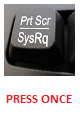
The easiest way to take a screenshot is to press and hold Windows Key and then click prt scr key. A very short blinking of display means that screenshot has been successfully captured.
 +
+ 
The captured file will be saved in Screenshots folder inside Pictures folder (It will be automatically created the first time you take a screenshot). Example- C:\Users\XYZ\Pictures\Screenshots
Note:
- Most keyboards have the prt scr key alongside f12 key.
- Different keyboards may have different notations for prt scr key like prt sc, prt scn etc .
Also Read: The Ultimate YOUTUBE Download Tutorial
METHOD 2
If the geek in you is not content with method 1 and wants some extra features like editing the screenshot before saving it, then read further.
prt scr is the short form of “print your screen”. Simply clicking this key captures whatever is on the screen and saves to clipboard.
Steps:
- Press prt scr key.
- Open Paint.
- Press Ctrl+V .
- Now edit the screenshot in whatever way you want.
Example:
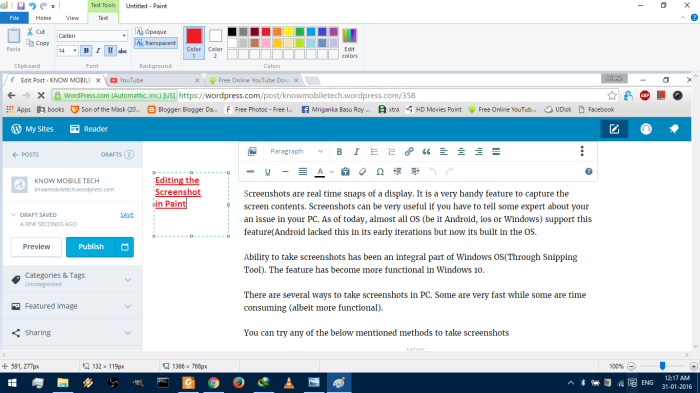
Apart from editing in Paint, you can paste it in any software(preferably those which work offline) that supports image files like Word, Powerpoint etc.
Also Read: SLOW PC?? TRY THESE TIPS TO BOOST SPEED
METHOD 3 (Snipping Tool)
Starting with Vista(except some versions of Vista), Microsoft ships Windows with an inbuilt tool called Snipping tool. The software has evolved over the years and now comes with multitude of features. It is very light and fast tool.
Features:
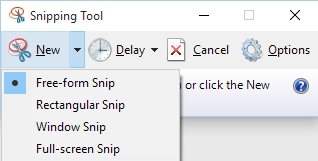
- Free-form Snip : As the name suggests, you are free to draw any shape on the screen and that part of screen is snipped(=screenshot is taken).

A free-form snip - Rectangular Snip : This lets you select a rectangular area on the screen and that part is snipped.
- Window Snip : Using this you can snip the windows you choose.
- Full-screen Snip : This lets you take a full screen snip.
- Delay : This is a new addition to Snipping Tool (starting from Windows 10). This lets you set a predefined time delay (0s to 5s) before snipping. After that interval, a screenshot is automatically taken.
After a screenshot is taken, this tool provides some more features like pen, highliter, eraser, sending the snip to someones email etc. Apart from this you can also select the format you want like .png, .jpeg, .gif and .mht (Unless personal choice, prefer .png because its more suited for screenshots) .
METHOD 4 (Using Browser Extensions)
Apart from the above discussed methods, you can also use extensions to take screenshots. There are many such extensions but none comes close to Awesome Screenshot. This extension has a rating of 4.5+ on Chrome Web Store and is used by more than 1 Million+ users worldwide. This will work with Chrome and also on other browsers based on Chromium WebKit Engine like Torch.
- Screen capture for all or part of any web page.
- Add annotations and comments
- Blur sensitive info
- Share with one-click uploads.
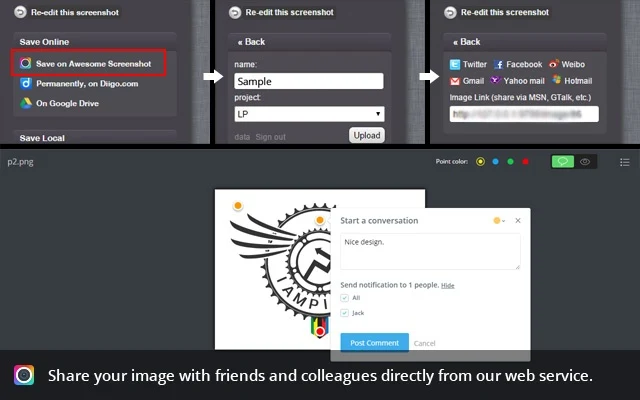
One standout feature is that you can save the screenshot on awesomescreenshot.com and Google Drive directly.
Capture:
- Capture or clip selected area or entire visible area or entire page.
- Supports png format.
- Supports vertical scrolling when capturing.
- Desktop Screen capture.

Annonate and Edit:
-
Annotate any image with rectangles, circles, arrows, lines and text.
-
Crop, scroll & show crop area dimensions.
-
Blur certain sections to hide sensitive information.
-
Copy the screenshot and paste it to Gmail, Facebook, Twitter, etc.

Save and Share:
- Save to local hard disc.
-
One-click to upload to awesomescreenshot.com and get a shareable link.
- Directly share to facebook,. twitter etc.
-
Support for Google Drive
-
Save very large images(>2 MB).
Permissions Required:
- Read and change all your data on the websites you visit.
- Capture content of your screen.
This extension is an all in one solution for taking screenshots. Click me to download Awesome Screenshot.
Please share your views about this article in the comment box. Also share any more methods you know.
NOTE OF CAUTION:
As far as possible prefer offline solutions over online ones since there are no issues related to privacy or sensitive information being compromised in offline methods.
TEAM KNOWMOBILETECH
Sources: wikihow Awesome Screenshot

Very comprehensive article
LikeLike
Thanks for reading the article. Keep visiting for more interesting articles.
LikeLike